


For every person who adores luxury, the most important accessory is their watch. Their signature style is reflected by their valuable timepiece. They need to have the right watch for the right occasion to make an entrance and a fashion statement. If you are reading this article, we bet you are one of them! But let’s be real for a second, do you really need to own a hundred watches to match your every outfit and befit your every occasion? Well if that’s the case, then it sure sounds expensive. But worry not, there exists a simple solution.
Probably anyone’s most prized possession is their watch. It costs from a hundred to a thousand dollars. Any sane person would think twice before purchasing the lot. So the question arises, how to keep up with your luxurious lifestyle with only a few watches? Simple answer – change the watch straps! The star of any watch is its dial. It’s the center of attention. It’s the king of the watch kingdom. It’s the element that adds value to your timepiece. The straps, however, are supporting characters that all work together in harmony to make your watch a shining piece of art. Here’s the best part about supporting characters, they can easily be replaced and add to the beauty and charisma of your watch.
Let’s get back together to the real problem. Can one watch really do it all? The answer is, yes! As long as you have a functional dial, you can pair it up with a variety of straps to match your outfits and befit your occasions. So, you must be wondering how to remove a watch strap on your own. Trust us, it’s easy peasy. In this article, we will share some simple tips that will help you to easily change a watch band on your own. When it comes to watching straps, NATO straps are the most popular ones. So we will be discussing how to change a NATO strap. Another element to consider while changing the watch straps are lugs, whether they are drilled or not, so we will be discussing that too. With that being said, let’s get started!
Removing NATO Straps:
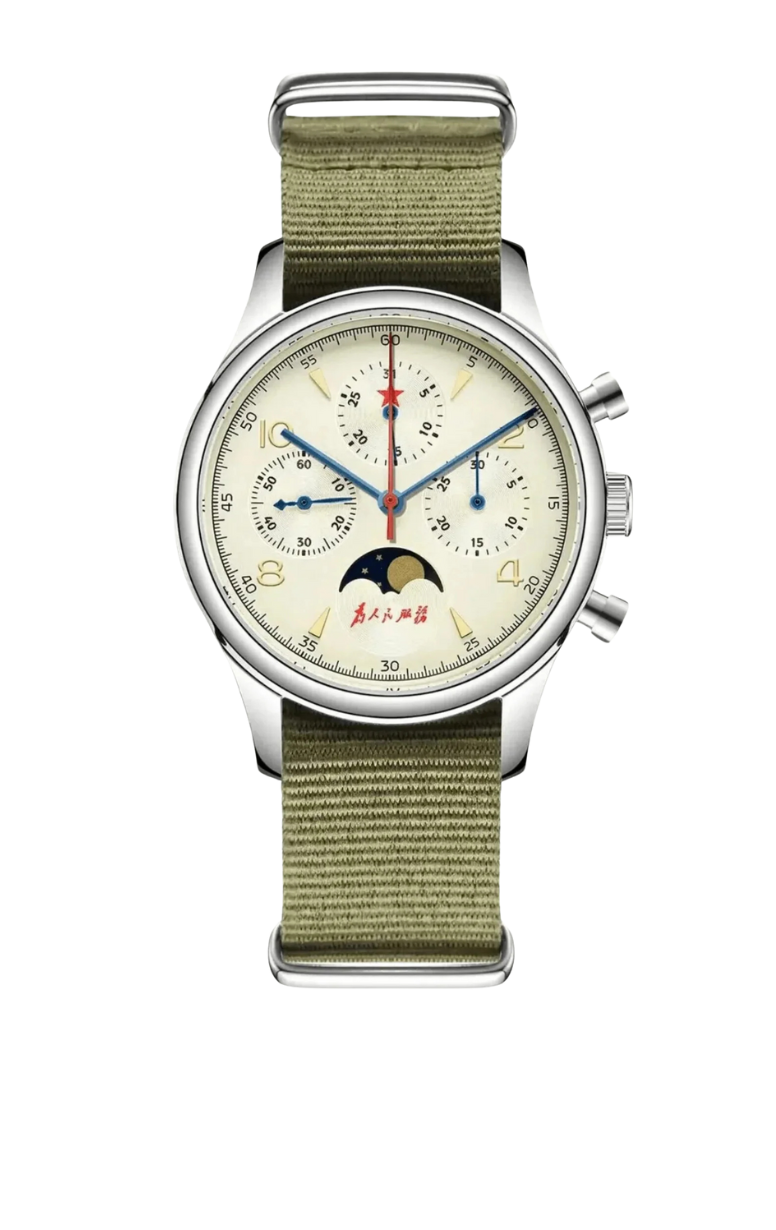
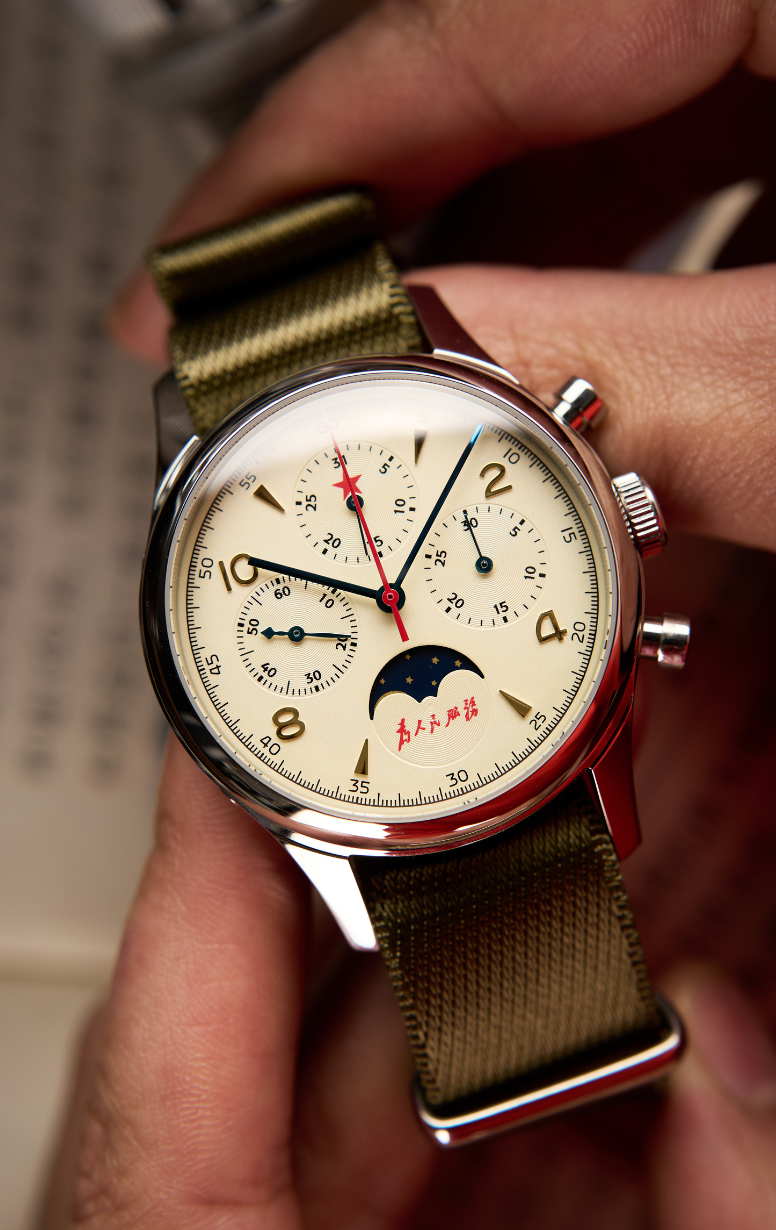
Amongst all the watch straps, the comfiest one is the NATO straps. It’s also the strap that is most commonly used in military watches. NATO straps have a very classy design which is reflected by their popularity. The NATO strap consists of 2 pieces of nylon which are intertwined in such a way that when suspended, the dial keeps its position intact and does not fall off. So these straps always prevent the dial of the watch from breaking off. For removing NATO straps, follow the easy steps given below:
Step # 1: Slip of the Bottom Keeper
If you observe closely, you may notice that sometimes the watch consists of fixated spring bars that cannot be removed. In such a case, and in general, you need to loop the straps through these bars in order to remove them. For this purpose, flip over to the back of your watch strap. You will see a metallic D-shaped ring. Simply slip it off and you’re done with step 1. You will now notice that one of the nylon pieces (the longer one) is laced with the spring bars, whereas the other nylon piece (the shorter one) hangs loose.
Step # 2: Pull the Strap
Next up, you need to free the watch straps from the spring bars. Try to gently pull the strap from the bottom spring bar. Keep the process gentle as you don’t want to cause any harm or damage to the dial of your watch. If the spring bars are causing any hindrance, try to remove them first. But if they are unremovable, then keep on gently pulling the straps through the spring bars. You will eventually succeed.
Step # 3: Put aside the Dial
After giving the strap a few pulls, it will get free from the spring bars. All that is left now is a strapless watch dial. Set it aside in a safe container so it doesn’t get any scratches. Your watch is now straps-free!
Attaching NATO Straps:
Once you have successfully removed the NATO straps from your watch, your watch dial is now completely naked. It’s time to put on some new straps and give your watch a makeover. It will completely provide your watch with a 180 degrees style shift! The attachment process is a reverse of the removal process. For attaching some new NATO straps, follow the simple steps mentioned below:
Step # 1: Intertwine the Strap
The first thing you need to do is to take the longer piece of your new NATO straps and intertwine them through the top spring bar. While doing so, make sure that the shorter NATO strap piece is directed away from you.
Step # 2: Keep pulling the Strap
Now all you need to do is to keep pulling the strap until the keeper on the NATO strap comes in contact with the top spring bar on the watch. As soon as it does, that’s your cue to stop pulling the strap. Next up, adjust its positioning. Make sure that the dial is in a predetermined fashion, exactly where you want it to be.
Step # 3: Adjust the Straps
Once you are satisfied with the dial positioning, take the bottom half of the strap and intertwine it through the bottom spring bar. Adjust the straps by folding the bottom tip of the longer piece of the NATO strap through the lower keeper present on the shorter piece. Simply pull the longer piece all the way through the keeper and you are all set!
Removing Straps with Drilled Lugs:
There are two kinds of lugs in any watch, drilled and non-drilled. Watch straps can be easily removed from both of them, all it requires is a slightly different procedure. So for changing the watch straps from a watch with drilled lugs, follow the simple procedure given below:
Step # 1: Take a Pointy Tool
Here’s a thing about drilled lugs, they make the strap removal process really quick and easy. In watches with drilled lugs, a drill is used to hold the spring bars in place. In order to remove the spring bars, you just need to remove this tiny drill. For this purpose, take a tool with a pointy edge.
Step # 2: Remove the Spring Bar
Insert this tool into the drilled lugs and try to unscrew the drill. Make sure to exercise caution while doing this as the slightest abrupt movement could scratch your watch crystal. Keep pushing the pointy edge into the hole until you feel the spring bar becoming loose and eventually getting detached. You can then easily remove the strap from one end.
Step # 3: Repeat Process
Repeat this process on the other side of the watch as well, on the second spring bar. Just make sure to keep it gentle as you don’t want to harm your dial and watch crystal in any way. Once the second spring bar is removed, you can easily take out the other side of the strap and make your dial strapless.
Attaching Straps with Drilled Lugs:
For attaching NATO straps on a watch that has drilled lugs, you will just need to follow the simple 3 steps which are given below:
Step # 1: Lay the Strap
Firstly, in order to attach a new strap to your watch with drilled lugs, you need to make sure that you lay down the strap in a predetermined position. Place the strap gently and adjust its positioning to wherever you find it comfortable.
Step # 2: Attach the Spring Bar
Once you have laid down your strap, next up, take one spring bar and place its one end in one of the lug holes. Take out your fork-shaped tool and gently push the spring bar all the way in and away from the hole. Then once it’s all in, allow the other end of the spring bar to find the second lug hole and get pinned in. Make sure that both ends of the spring bar are now enveloped by the lug holes. You can check this by looking into the lug holes.
Step # 3: Repeat Process
Lastly, repeat the exact same process on the other side of the watch as well to attach the second spring bar. Your new NATO strap will be all set.
Removing Straps without Drilled Lugs:
Most watches do not have drilled lugs in them. But don’t overthink, the strap in these watches can still be replaced. It’s an easy process that requires a tool or two, but it guarantees successful strap removal. It’s just going to take a little more time and patience.
Step # 1: Take a Fork shaped Tool
For removing a watch strap from a watch without drilled lugs, you are going to need a small fork-shaped tool for this purpose. The strap removal process is going to be just a tiny bit difficult so make sure you have the right tool before you begin the process.
Step # 2: Remove the Spring Bar
The catch in watches without drilled lugs is that the spring bar removal process becomes slightly indirect. Instead of directly aiming at the spring bar with the tool, aim for the central section. The spring-loaded center portion splits up into two small fork-shaped lips on either side of the bar. Try to grab these fork-shaped lips on one side of the spring bar by slipping the fork tool in between the strap and lug. Once you have it laced up with the tool, pull it towards yourself so that the spring bar detaches. This process is slightly complex so try to keep a steady patient hand while doing so.
Step # 3: Repeat Process
Repeat the same spring bar removal process on the other side as well to completely detach the watch dial from its straps.
Attaching Straps without Drilled Lugs:
Attaching straps to a watch without drilled lugs is similar to attaching one to a watch with drilled lugs. The procedure is the same, all you need to do is just be a little more vigilant. Follow the easy steps mentioned below to attach NATO straps to a watch without drilled lugs:
Step # 1: Lay the Strap
Firstly, lay down the strap in the position where you want it to be. Make sure that you are conducting the process on a slip-free surface to avoid any damage to the watch dial or to the straps.
Step # 2: Attach the Spring Bar
Next up, take a fork tool and attach one end of the spring bar to the lug. Keep pushing the spring bar and adjusting it until one end is fixed. Once one end of the spring bar gets fixated, the second would automatically fall into place. Make sure to conduct this process with extreme caution as you cannot check whether the spring bars are completely fixed.
Step # 3: Repeat Process
Lastly, repeat the process on the other side of the watch as well to attach the second spring bar. Once done, your watch will be good as new with a brand new NATO strap.
We hope you found this article helpful!